At this point, repairs can be made on the vehicle cooling system. Once it is time to install coolant back into the vehicle, the following steps should be followed.
1. Make sure that the coolant drain valve is fully closed to prevent leakage when adding coolant back into the vehicle.
2. Inspect the vehicle to see if there is a bleed valve present. Open the air bleed valve using the necessary tools.
3. Install premixed coolant into the coolant reservoir or radiator, being careful not to spill any fluid during the process. Slowly add coolant until the system is full.
4. Start the vehicle and let the engine warm up while watching the coolant level. Once the thermostat opens up, coolant should be added until the level is at the full cold mark.
5. Close the air bleed valve once coolant begins to pass through the valve.
6. Once the vehicle is filled with coolant, it should be cleaned of excess coolant and then taken on a road test. The vehicle should be allowed to cool down and then the coolant level should be checked again to ensure that it is full.
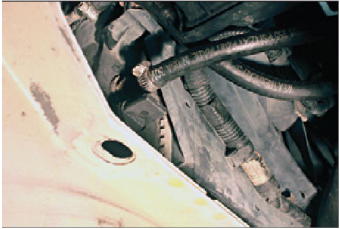
The radiator drain valve is located at the bottom of the tank on the driver’s side of the vehicle. This valve is plastic and is opened by rotating the handle counterclockwise. The opening in the lower radiator support provides a path for the coolant to drain into a drain

This radiator drain valve is a plastic hex-shaped device that screws into the bottom of the radiator tank. A socket and ratchet can be used to loosen this

This radiator has a plastic pipe pointing downward to assist in draining the coolant into a drain
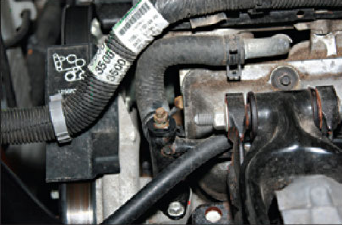
Many engines have a cooling system air bleed device that can be opened during the cooling system refill procedure. It helps to bleed the air pockets out of the
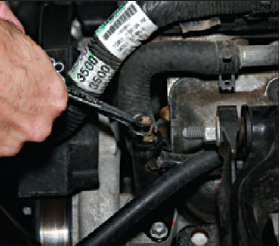
The bleed valve can be opened by using two wrenches and turning the top of the bleed valve counterclockwise. The valve should be closed after coolant begins to flow from the valve during the refill and engine warm-up