1. After recovering the AC system or verifying the system is empty, the condenser removal process can begin.
2. Remove the necessary upper trim bezel fasteners to gain access to the radiator and condenser mounting fasteners.
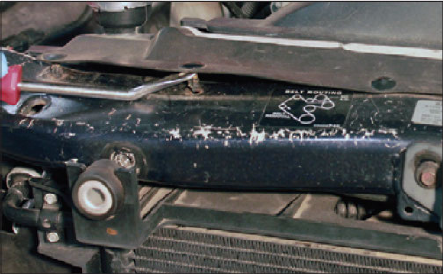
The trim covers need to be removed with the necessary tools required. Some trim covers are held in place with bolts, while others are held in place with plastic clips. A door trim panel tool is useful when removing the plastic
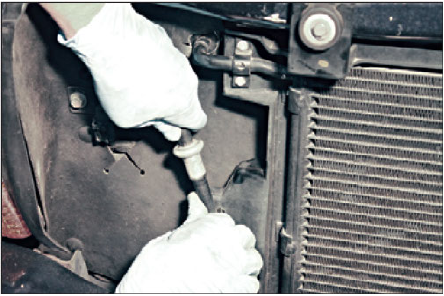
3. Remove the inlet and outlet lines that connect to the condenser using the correct tools required for this process. Quick-connect couplings will require the use of the removal tools to get the connections apart.
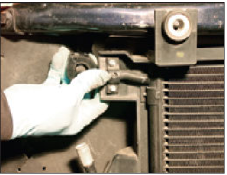
The quick-connect removal tool needs to be inserted into the quick-connect coupling with the beveled lip facing the spring. Once the tool is fully inserted, the joint can be pulled apart and
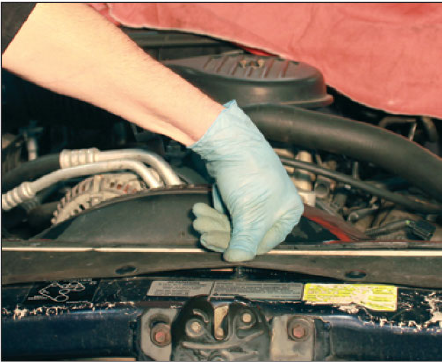
4. Remove the condenser mounting fasteners and remove the condenser from the front side of the radiator.
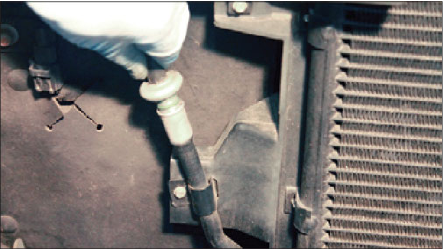
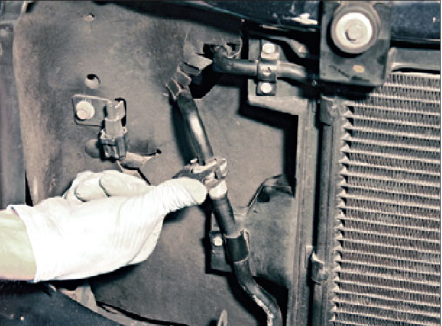
After using the removal tool on the quick-connect coupling, the line can be pulled away from the condenser. It is sometimes necessary to twist the line to assist in breaking the O-rings loose from the
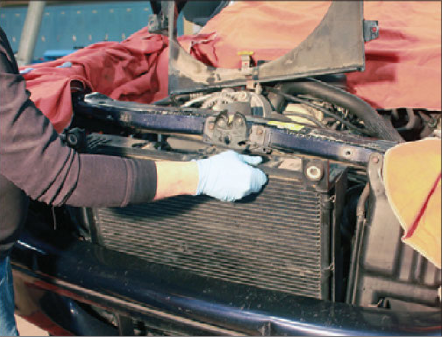
After removing the mounting fasteners from the condenser, the fan
shroud, and the radiator, the condenser can be lifted from the front
of the vehicle. This particular vehicle required the radiator to be
removed prior to removing the
5. Inspect the new condenser for proper design characteristics to make sure it matches the old unit.
6. Add 2 ounces of the correct refrigerant oil into the condenser inlet passage.
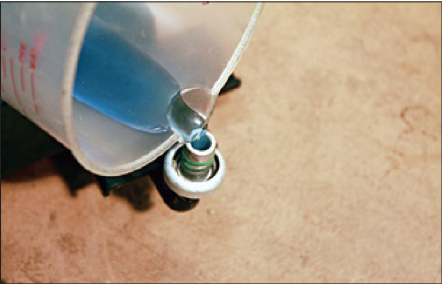
The correct viscosity and type of refrigerant oil should be added to the new condenser prior to installation. A reliable repair database will provide the exact amount of oil to add, but if that is not available, add 2 ounces to the new
7. Install the new condenser with the old fasteners and torque them to the correct specifications.
The new condenser is installed by reversing the sequence that was used during removal. All of the O-rings and seals should be replaced and lubricated with refrigerant oil. The quick-connect couplings should be firmly connected until a snap is heard. Each connection should be pulled on to make sure that the spring is firmly in
8. After replacing the O-rings and gaskets, install the inlet and outlet lines to the condenser, being careful not to pinch an O-ring and making sure the quick-connect coupling snaps together properly. The retaining bracket should be installed onto the coupling properly.
The retaining brackets should be installed after the quick-connect coupling is snapped together. These brackets provide an extra layer of protection to prevent refrigerant
9. Reposition and reinstall all radiator mounting fasteners as well as all trim panels and fasteners.
All of the trim bezels and seals need to be installed along with the fasteners that hold these in place. All of the fasteners and connectors should be double-checked to make sure that all are in place prior to recharging the AC system and returning the vehicle to
10. The AC system can be evacuated and recharged before being returned to service.