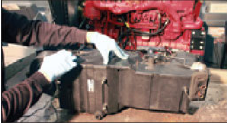
The evaporator core is the heat exchanger located inside the
duct box that causes the heat to be removed from the air that
passes by it, which produces cool and dry air. Below are the
steps for replacing the evaporator core.
1. After recovering the refrigerant or verifying that the AC system is empty, follow the procedures to remove the duct box from the vehicle. This is a very labor-intensive procedure that should only be done by someone with a strong mechanical ability and a complete set of technician’s tools.
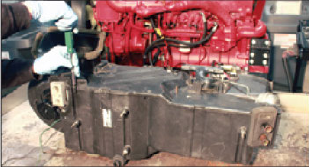
Once the duct box has been removed from the vehicle, the top of the unit can be removed to gain access to the evaporator core. It is wise to pay close attention to the linkages, actuators, and the number and location of fasteners that are removed during this
2. Remove the top/cover of the HVAC duct box to gain access to the evaporator core. Pay close attention of the position of the duct doors during disassembly because these doors will need to be in the normal area of travel when putting the assembly back together.
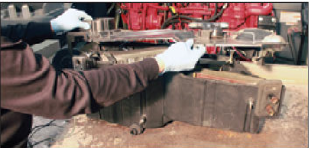
The duct box top is gently lifted away from the unit to allow access to the evaporator core and heater core. Pay close attention to the position of all of the duct doors to assist in making sure that they are in the correct location when the unit is put back
3. Remove the evaporator core from the duct box.
4. Inspect the evaporator core closely and make sure the new unit is the correct unit to use for this vehicle.
5. Add 1 ounce of the correct refrigerant oil to the inlet side of the evaporator core.
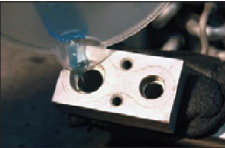
The correct viscosity and type of refrigerant oil should be added to the new evaporator core prior to installation. A reliable repair database will provide the exact amount of oil to add, but if that is not available, add 1 ounce to the new
6. Reinstall the evaporator core back into the duct box. It may be necessary to remove the insulating material from the old evaporator core and install it onto the new core. This insulation assists in sealing the unit and prevents duct box air from bypassing the evaporator core.
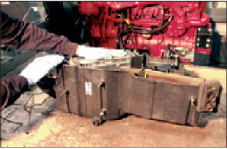
The new evaporator core is gently inserted back into the duct box housing while making sure that the foam seals are in place to prevent any air from bypassing the
7. Reinstall the duct box cover while paying close attention to the position of the duct box doors.
The duct box top is reinstalled and attached with the fasteners. It is important to make sure that all of the duct doors and linkages are in an acceptable position during assembly to allow for proper operation and movement of each
8. Reinstall the duct box assembly back into the car and then install all fasteners, hardware, electrical connections, lines, and hoses.
9. The AC system can be evacuated and recharged before being returned to service.
