A heater core that has become restricted will cause poor heater performance. This condition is diagnosed by testing the temperature drop on the heater hoses with the system set to full heat and the blower turned to high. This condition can sometimes be repaired by flushing the heater core. Follow the steps below to flush the heater core.
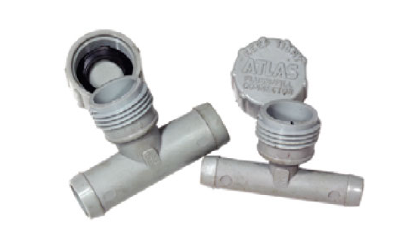
These heater hose adapters can be installed on the heater hoses to allow a water hose to be connected to the heater hose. One end will need to be blocked off to cause the water flow to go into the heater core. The flushing process needs to be done in the reverse direction of the normal flow to allow for any foreign material to be removed from the core during the
Flushing the Heater Core
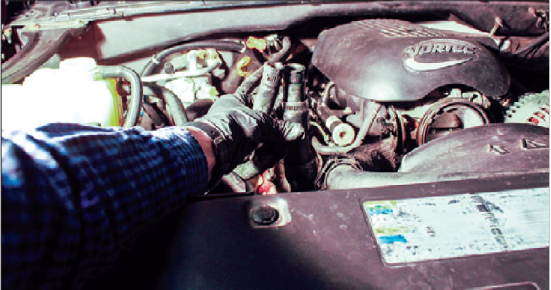
1. Remove the inlet and outlet heater hoses at a convenient location that will allow the flush process to take place.
2. Connect a water hose to the outlet heater hose in order to flush the core in the opposite direction of normal flow.
3. Use a drain pan to catch the coolant and water that was forced through the heater core during the flush process.
4. Run water through the heater core for several minutes.
5. Reconnect all hoses in a secure manner to prevent any leaks in the system.
6. Top off the coolant to ensure the cooling system is at the correct level.
7. Start the engine, set the controls to full heat with the blower on high, and test the heater performance.
The heater hoses should be removed to allow for the adapter to be installed onto the exit hose. The inlet hose should be directed to a drain pan to catch the coolant and water that is used during the flush
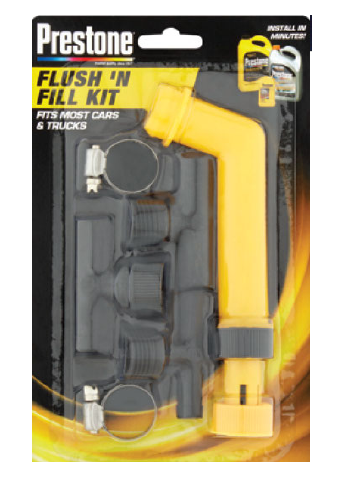
This flush kit has several adapters that will allow for various sizes of hoses. The heater core needs to be flushed in the reverse direction of normal